Shop · Garage
TDD Magnetic Level Block
$29 · or the 3D model for $5
- A 3D scanning reference: a printed block with known nominal dimensions to place in the scene for scale and a sanity check
- A maker bench level: round bubble vial set into the top face, three flush magnets on perpendicular faces for mounting and storage
- Printed and measured individually, so each block's actual size is its own. Not a certified precision standard
- PLA. Keep it off hot surfaces
Secure checkout with Shopify.
Printing your own? The parts: bubble level · magnets (Amazon).
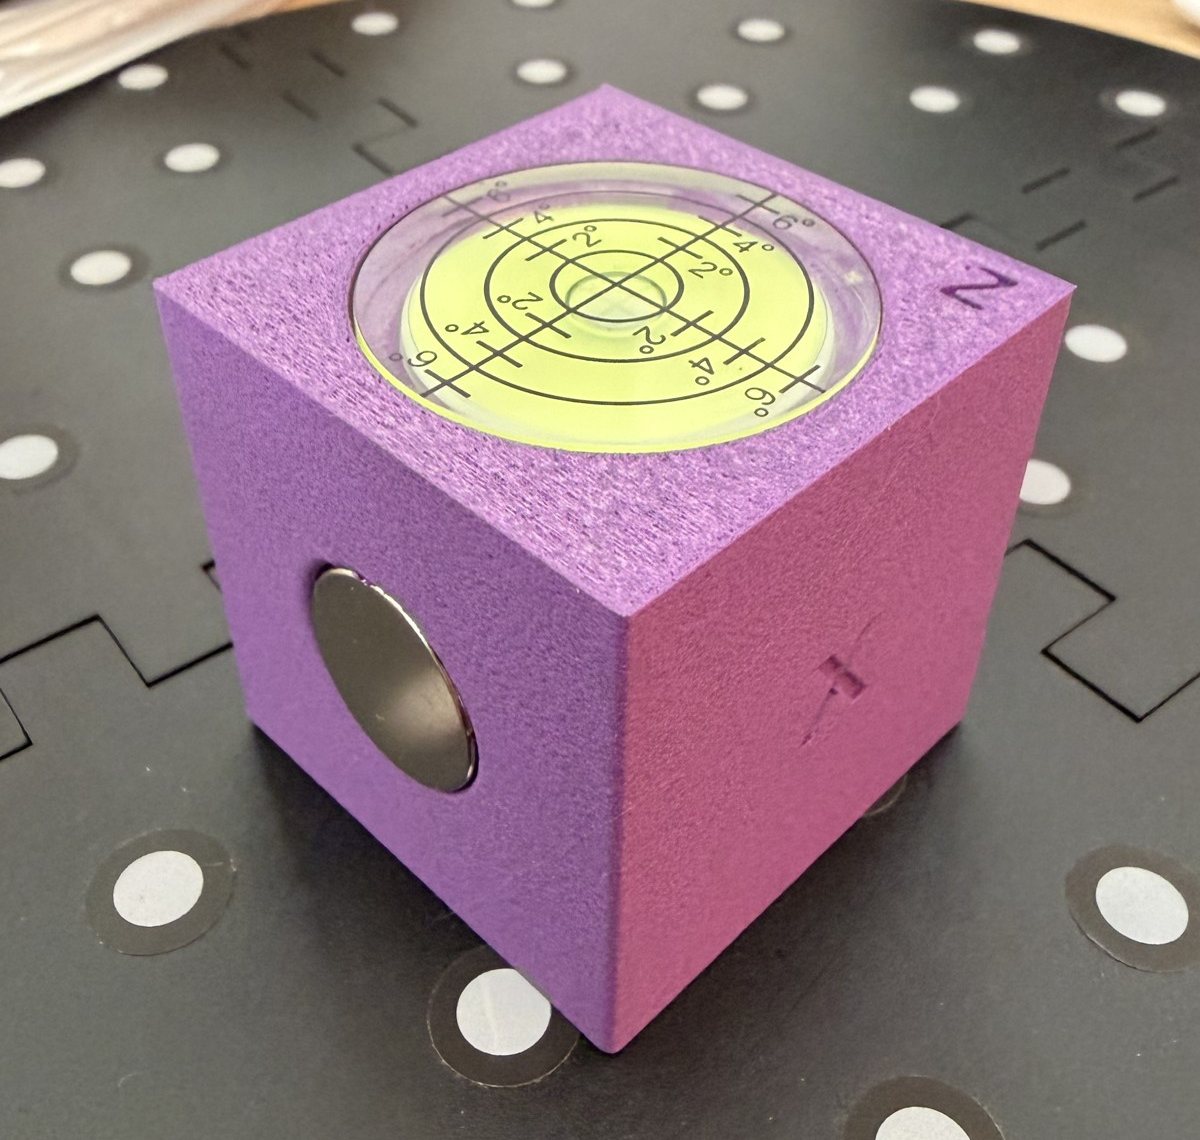
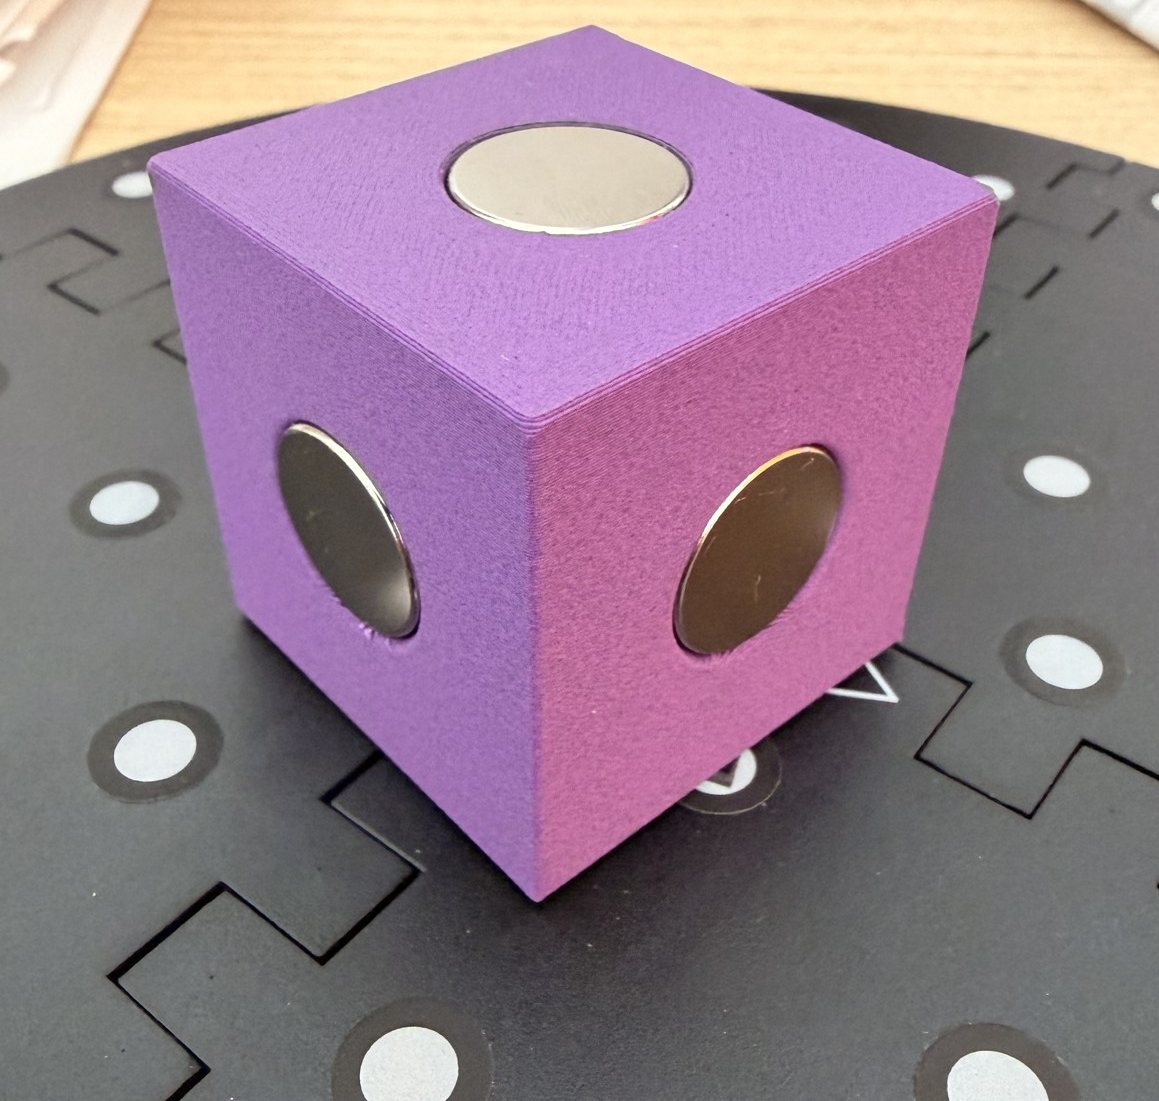
What’s included
| Version | Price | You get | You bring |
|---|---|---|---|
| Assembled block | $29 | The printed block with the bubble vial and magnets fitted, measured individually | A flat surface to level on, and a ferrous surface if you want to stick it up |
| 3D model · digital | $5 | The printable block model | Your printer and filament, the bubble vial, and the magnets |
The printed block's dimensions are nominal. The assembled block is measured individually, so if a size matters to you, check it with your own calipers.
Scanning reference: a step-by-step workflow
A suggested workflow for using a measured block as a scan reference. Results depend on the scanner, surface preparation, and setup.
- Clean the block and confirm its actual dimensions with calipers against the nominal figures, so you are working from what this block really measures, not just the label.
- Set the block on the scan table, or stick it to a ferrous part of the rig with one of the flush magnets so it stays put while you scan, keeping the round vial facing up.
- Place it so the block and the gauge boss are both visible to every scanner position you plan to use, ideally near the object rather than at the edge of the scene.
- Scan the block and the object together in the same pass, so they share one coordinate space and one scale.
- In your scanning software, use the block's known nominal dimensions to set or check scale, then compare the block's measured size in the scan against the calipers reading to see how far off the scan is.
- Clean up and export the object, keeping a note of the difference you saw, so you know how much to trust the numbers you pull from the scan.
Nominal dimensions are the design figures. Because each block is printed and measured individually, the actual size can differ slightly block to block and does not carry a certified tolerance.
Maker bench use
- Stick it to a ferrous bench, toolbox, or trailer wall with the flush magnets for storage, or use the top face as a quick level reference
- The round bubble vial reads with the vial facing up, so the block sits level on a surface; the side magnets are for mounting and storage, not for reading level on a wall
- The gauge boss and pocket give you a nominal size to caliper, as a reference for checking your own printer's calibration
- It is PLA, so keep it off hot surfaces, like the inside of a car in the sun or the top of anything running hot
Fit & setup
- Use: this is a shop reference for scanning and bench work, not a certified precision instrument. If you need a calibrated standard, buy one
- Sizing: dimensions are nominal and each block is measured individually. If a size matters to your job, confirm it with your own calipers
- Setup: the assembled block arrives ready to use; the $5 model means you print it and source the vial and magnets yourself
- Uncertain fit: if you are not sure it suits your scanning or bench setup, ask before ordering and I will tell you what I know
Shipping, returns & help
- Assembled block: 30 day return after delivery, subject to store policy. The buyer covers ordinary return shipping; if an item arrives damaged, defective, or incorrect, contact support and it will be handled
- Assembled block ships from California to US addresses, tracked. Rates and estimates are calculated at checkout. International shipping is not currently offered
- 3D model · digital: non-refundable once delivered. If the file fails to deliver or is incorrect, contact support
- Questions on dispatch timing, deadlines, or an undocumented spec? Ask before ordering at [email protected]
FAQ
What surfaces does it hold to?
The three flush magnets sit on perpendicular faces so the block can be stuck to ferrous surfaces like a toolbox, bench, or trailer wall for mounting and storage. The magnets are for holding the block, not for taking a level reading on a wall.
Can I read the level when it is stuck to a wall?
No. A round bubble vial only reads with the vial facing up, which on the block means the top face up on a level surface. The side magnets are for mounting and storage, not for side reading.
Is this a certified precision instrument?
No. It is a printed block with a bought bubble vial in it. The published dimensions are nominal and each block is printed and measured individually, so any single block's actual sizes are its own. Treat it as a shop reference, not a calibrated or certified standard.
How do I use it as a 3D scanning reference?
Place it in the scan scene so the block and gauge boss are visible, scan them with the object, then use the block's known nominal dimensions in your software to set scale and to sanity-check the result. Because each block is measured individually, confirm the actual size with your own calipers rather than trusting the nominal figure alone.
How do I keep it accurate?
The reading comes from the bubble vial, not the print, so keep the vial's seat clean and the block flat. It is PLA, so keep it off hot surfaces. It is a printed part, not a machined instrument; if you need a certified standard, buy one.
Can the model be printed by anyone?
Yes, the $5 model is a printable file, sized for a standard build volume and printed as a single block. Sourcing the vial and magnets is on you, and print calibration affects the nominal dimensions, which is why the assembled block is measured individually.